neovim Part 1 – Basic Installation of neovim on macOS
This post is technically outdated. You can surely find some ideas from it useful for VIM. For neovim users, I would do it differently now. A new post on this will follow soon.
What’s the Outcome of This Article Series?
This is essentially a dump of my config combined with a few tips for those transitioning to neovim. You’ll get a fully functional installation of neovim. I’ve tested this again during a fresh installation on my MacBook, and everything worked for me. Of course, I can’t guarantee that it will work the same for you. With neovim, you get an editor that you can use for everything, offering incredibly many possibilities. The learning curve is quite steep, and the entry can be more challenging than with other editors.
I have an extensive config for you that brings a large base functionality and many possibilities.
The History of VIM and NEOVIM
Those who have already dealt with the vi editor or even vim will love neovim.
To understand this, one needs to know a bit about their history. In the early days of Unix, back in the 1960s, there was the ed editor, which was line-oriented. That means you couldn’t see the whole text, just one line at a time. Later on, the ex editor was developed, with the x standing for an extended version of ed. It was still line-oriented.
In the mid-1970s, Bill Joy apparently got really annoyed by this and created a visual version of ex. We all know this editor as vi. It was now screen-oriented, so you could read the whole text, just like we expect from all modern editors. Bram Moolenaar then developed VIM in the late 1980s. Vim now stands for Vi IMproved, again an extended version of vi.
The structure of the development teams is comparable to Linux. Bram controls everything, just like Linus, and decides what gets integrated into VIM and what doesn’t. For many, this development pace is not fast enough.
That’s why neovim was created in 2014. Initially, it was a very advanced version of VIM, with a typical community team development structure. The differences are not as dramatic as in the early days, but neovim is always a bit ahead of VIM. Many switch to neovim because they prefer the openness of the community behind it and some because they push VIM to its limits and find more possibilities with neovim.
Prerequisites
I assume you’re using Big Sur. It should definitely work from macOS Mojave 10.14 onwards.
I use Homebrew for installation. If you haven’t installed Homebrew yet, read my post about it on the blog. You’ll need it multiple times, and it makes things very simple.
Optionally, you can also make and optimize your terminal more beautiful or “boost” your zsh shell a bit.
We will also install Python and Node, as they are partly needed by neovim and some plugins.
Basic Installation
After you’ve installed Homebrew, open your terminal, and let’s install neovim:
brew install neovim
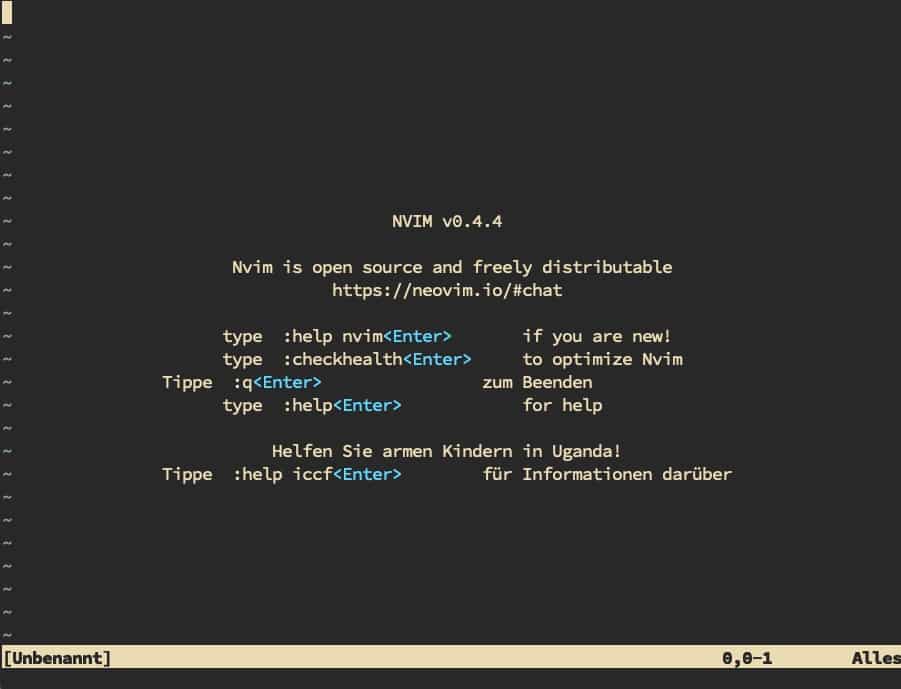
The First Launch of neovim
Now you can start neovim with ´nvim´.
If you’re coming from VIM, then much remains the same at first. Some standard settings that almost every VIM user makes are already set in neovim. It also looks a bit fresher.
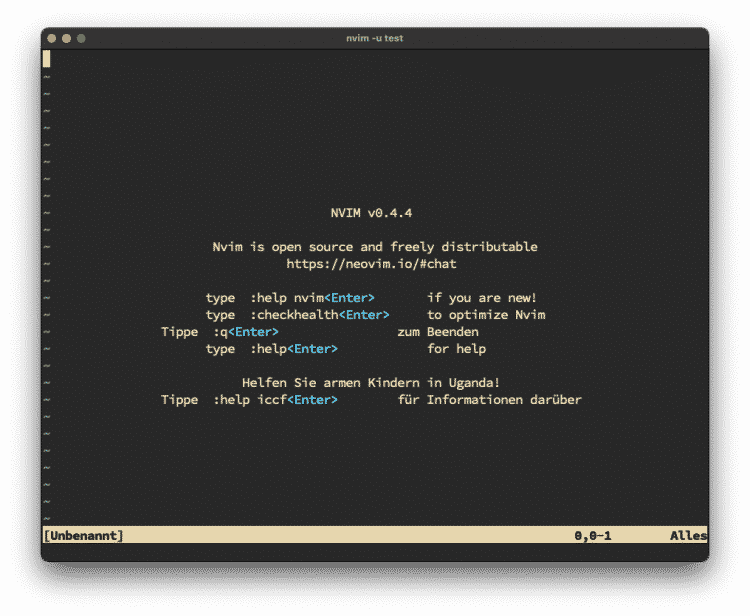
If you’ve never used a vi editor before, then you can exit it with :q! (quit without saving). If you can’t enter this, then press the ESC key first and then type it in.
For Convenience – Start vim as vi or vim
Since vim is already part of the macOS package, you now have both editors on your computer.
Therefore, I recommend setting up your zsh bash so that you start neovim with vi and vim:
echo "alias vi='nvim'" >> ~/.zshrc
echo "alias vim='nvim'" >> ~/.zshrc
source ~/.zshrc
Creating an Empty Config
The configs for neovim are organized differently than for VIM.
In contrast to ~/.vimrc, neovim looks for its config under ~/.config/nvim/init.vim:
mkdir -p ~/.config/nvim
touch ~/.config/nvim/init.vim
What’s Next?
In the next part, I will write some tips for newcomers and those whose VIM knowledge has gotten a bit rusty.
If you’re more interested in turning neovim into a complete editor environment with spell check, autocomplete, markdown preview, Git integration, and many other functions, then skip right to the third part.
There, we’ll create a 300-line config, and I’ll go into many of the settings, explaining what they mean.
If you have any questions, feel free to leave a comment. But any other feedback is also welcome.
